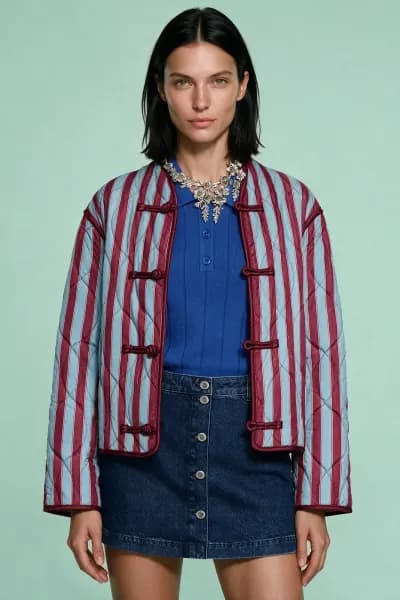
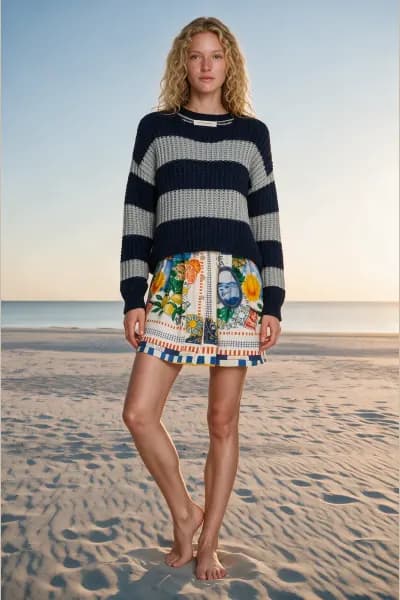
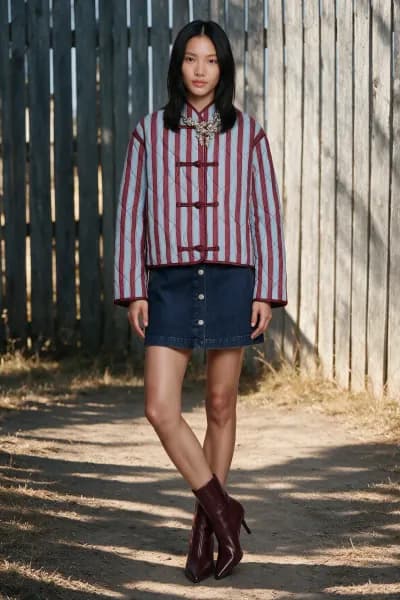
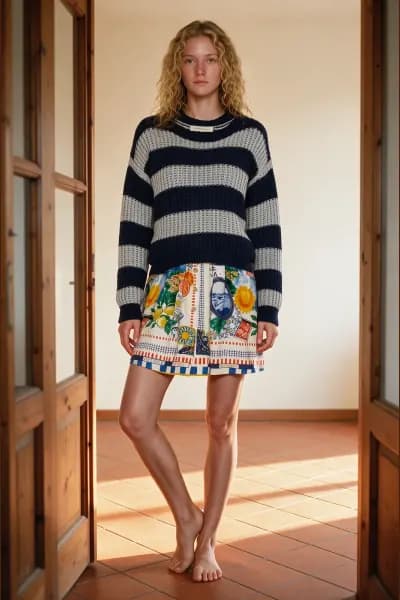
What it makes
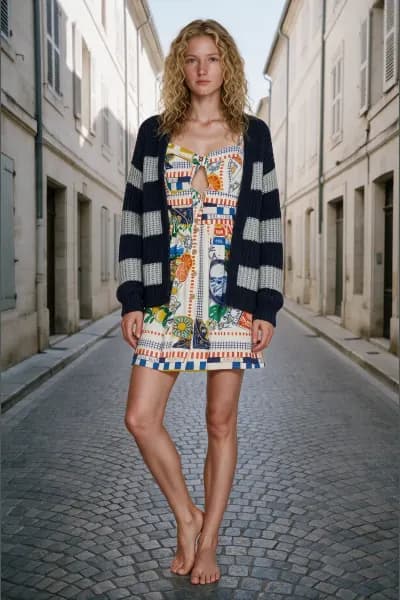
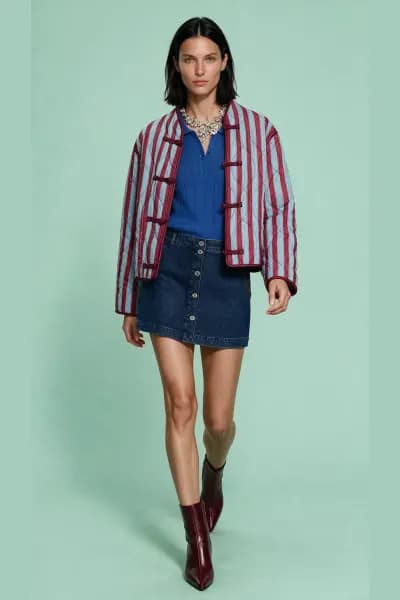
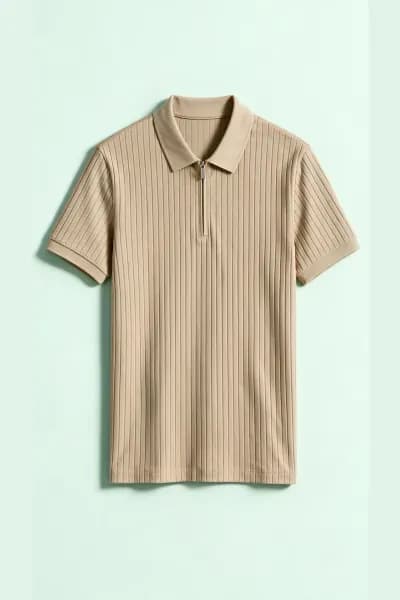
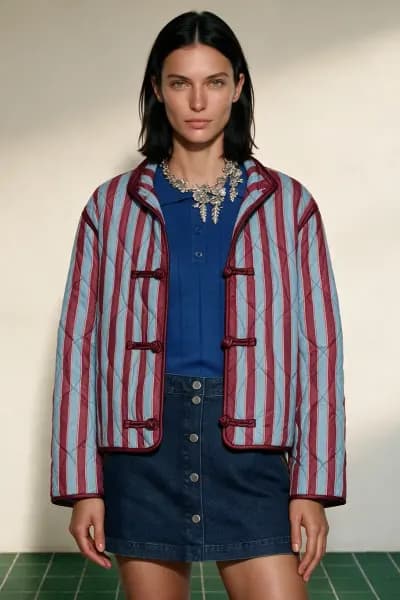
Flat lay to on model is the On model tool working from photos of your products laid flat. It produces editorial photos of one of our catalogue models wearing them, in a pose you choose, in a studio or a location scene. It is the tool for a drop that exists only as samples, for a supplier's flat lays, or for any product you can photograph on a table but not on a person.
The model in the output always comes from the catalogue. Your uploads supply the products and nothing else.
What to prepare
Every photo you upload is read by an analyser that finds the garments and accessories in it and describes each one. The better the photo, the better that description, and the description is what every generated photo is built from.
- Formats: JPEG, PNG, WebP, AVIF or HEIF (the iPhone default), each file under 50MB.
- Size: at least 1000 pixels on the long side and 600 on the short side. Below 1280 pixels on the short side the photo is accepted with a warning that fine details like textures, logos and stitching may soften. 1280 or more works best.
- A shoot holds up to 20 photos. You only meet that limit as a warning when a drop would exceed it.
- Very tall or very wide photos are padded with white rather than refused.
A good flat lay for this tool: one product, or one complete look, on a plain background, lit evenly, every item fully visible and not overlapping another. A shoe that is a tiny corner of a large photo has few pixels to work from, so give small items their own photo.
Products with a lot of hardware, prints or logos benefit most from a sharp, close upload: those are the details the analyser lists as risks to protect.
The stages
The shoot is a five stage workspace: Products, Model, Poses, Scene and Shooting. The rail on the left shows where you are and every choice made so far, and you can click back into any stage.
Stage 01 · Products
The stage is titled Build the look. The same tool also reads photos of clothes worn by someone (On model reshoot) or on a mannequin (Mannequin to on model), with nothing to choose first, so one shoot can mix them. Under the drop zone, For the best results shows what a good photo of each kind looks like.
Three ways in, usable together:
- Select photos uploads one or many photos.
- Compose a canvas opens a 3:4 canvas where you drag up to 8 product photos into one layout and send it as one photo with Use this canvas. The flattened canvas is a 2048 by 2731 JPEG, analysed like any other upload.
- From your library adds products you have saved before, up to 10 per batch, with no analysis.
Analysis needs at least 1 credit on the account, though it consumes none. Each photo appears in the Source photos strip while it is analysed, and its products land in Detected products as cards with a category pill. The garments from one photo arrive selected as one layered look. Accessories and headwear are never selected for you, and if one photo contains two dresses or two pairs of shoes, neither is: you choose.
Selection rules, checked as you click and again on the server:
- Garments and accessories layer freely: shirt, jumper and jacket is one look.
- Footwear, headwear and full body items are one at a time. Choosing a second pair of shoes swaps silently. Choosing a second hat or dress asks first: Replace the selected item? with Swap or Keep current.
- Layer ceilings: two outerwear pieces or two bottoms draw a warning and a third is refused. A third swimwear piece is refused. Four tops or four underwear pieces draw a warning.
The look checks run live in a panel above the footer. A bare lower body blocks the stage: "Add a bottom or a full-body piece so the lower body is dressed." Outerwear with nothing underneath is a warning, since coats are often shot closed. Underwear that other garments would hide gets a "might not be visible" note, and two items that look like the same product get a "look like the same item" note.
Hover a card for the pencil, Edit Analysis Details, which opens the product's Label and Details. Both are written into the generation prompt, so correct anything the analyser misread; a product linked to your library updates there too. Selected eyewear gets an On eyes or On head switch under its card.
Footwear must be resolved before you continue. With none selected, a band asks What about footwear?: Barefoot adds a Barefoot card to the grid, and Upload shoes analyses one photo and selects only the footwear it finds. Silence is never treated as barefoot.
Stage 02 · Model
Cast your model lists the published catalogue models with a Female, Male or All filter. Pick a model, then a size under Body size. Each size is a real generated body for that model, not a label. Poses in the next stage follow this model's gender, and changing the model resets the size.
One check lives here: a look that leaves the upper body uncovered blocks a female model, with the message to add a top or choose a male model.
Stage 03 · Poses
Choose your shots. Every pose becomes one photo. Pick up to 6, numbered in the order you pick them. Poses are grouped by framing: full body, upper body and lower body.
Stage 04 · Scene
Set the scene. This stage is optional. Two things live here:
- Photo size: one shape per shoot. Chips for 3:4, 4:3, 9:16, 16:9, 1:1, 4:5 and 5:4, plus Auto, which follows your backdrop and poses. Every size costs the same.
- The setting: a location from the library, or the Studio card in any paper colour. Its palette icon opens ready papers and a colour picker; Use colour applies one, Default returns to the soft mint paper.
With a library location, the model is photographed in that place at true scale. With Auto size the photo takes the scene's own shape; with any other size the place is framed around the model to fill it.
Stage 05 · Shooting
Ready to shoot states the plan: one photo per selected pose, at the chosen size. Generate N photos shows the credit price and opens a Ready to generate? recap of the look, model, scene and poses with the total at the bottom. Money moves only when you press Generate in that recap.
Photos fill in as they finish. Click one to open it full size. Afterwards the button becomes Generate again, which reshoots the whole look.
Credits
- Every photo costs 1 credit, at any size, with any scene.
- Credits are deducted when you generate. A photo that fails refunds its credit on its own, and its tile shows Retry, which is a new photo and a new credit.
- If your balance runs out part way through a batch, the photos that started keep going and a notice tells you how many did.
- Analysis is free but needs at least 1 credit on the account.
Best practices
- Give each product enough pixels: one item per photo for small pieces, 1280 pixels or more on the short edge.
- Read the label and details of every selected product before Stage 02. A wrong word in a description becomes a wrong detail in every photo.
- Save products you will shoot again to your library so the verified description is reused instead of analysed again.
- Pick the photo size before you generate. Download sizes wider than the photo are not offered afterwards, because the model is framed head to toe.
Common refusals and what to do
- "Photo not usable": the analyser refused the photo (no products, not a photo, too low quality). Remove it and upload a different one.
- "Analysis failed": Retry, up to 3 attempts per photo, then upload the photo again as a new one.
- "This shoot has analysed as many photos as it can": start a new shoot for the next batch.
- A daily or monthly analysis allowance is used up: the message names the number and, for the monthly one, the reset date. Allowances per plan are on the pricing page.
- "No credits left": analysis and generation both need a credit. Pick a plan on the billing page.
- "Too many photos have failed to generate today": new shoots pause until tomorrow. Failed photos were refunded.
Downloads and the AI label
Hover a photo for its download icon, or use Download all for the shoot. The panel offers JPG, PNG or WebP and one or more sizes: Original, Storefront, Portrait post, Square, Story, Tall pin and Wide, each card previewing the exact crop. Several sizes, or several photos, arrive as a zip with a folder per size.
Every export carries machine readable provenance metadata marking it as AI generated, which cannot be switched off. The visible EU "AI GENERATED" label is on by default and can be turned off per download with the switch Show the "AI GENERATED" label on the photo. Publishing an AI photo of a person usually requires it.