What it makes
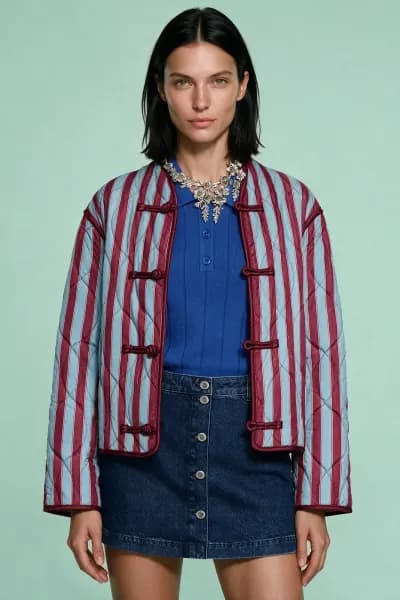
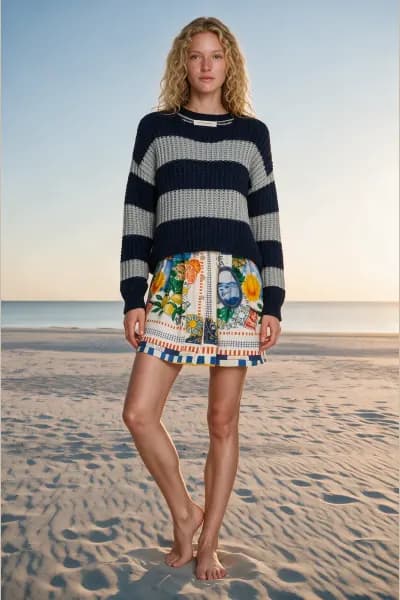
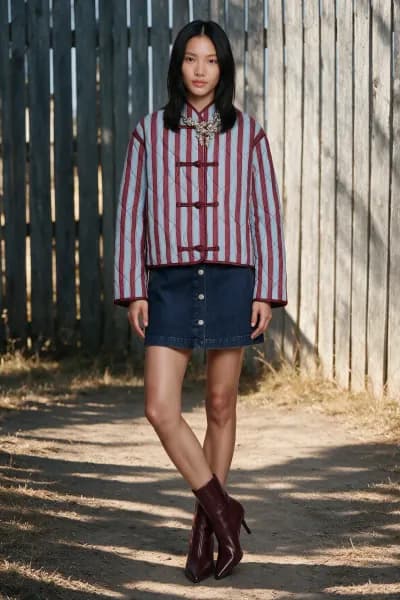
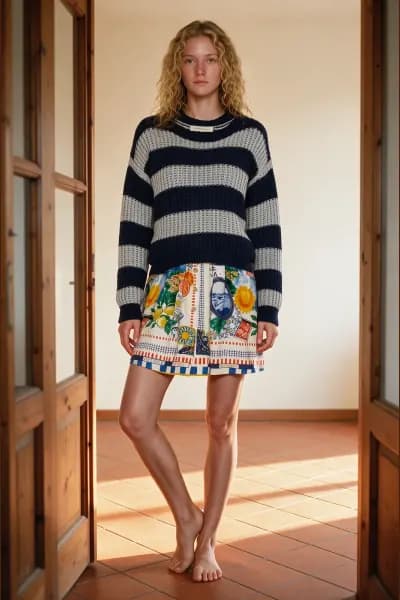
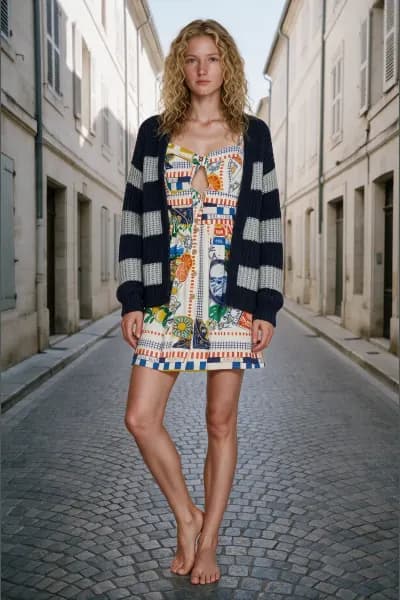
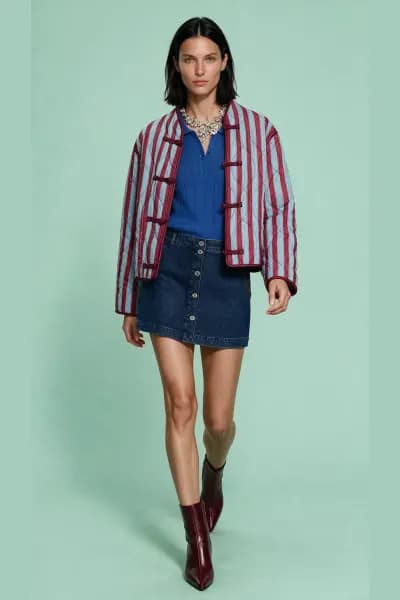
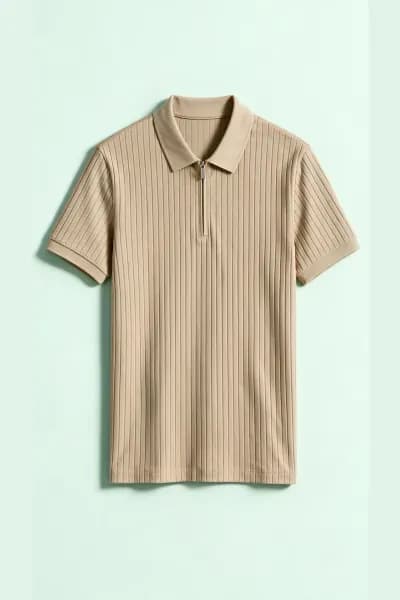
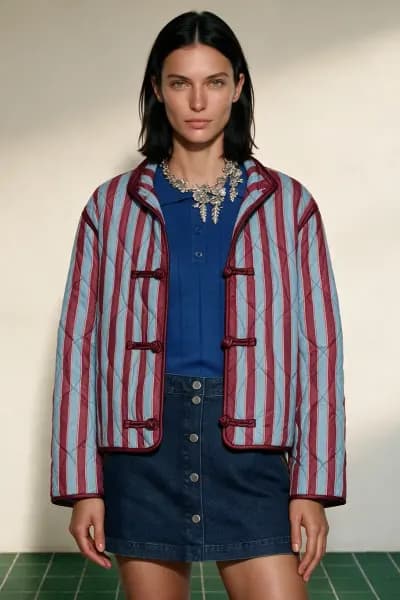
On model reshoot is the On model tool working from a photo of your garments already worn by someone, an old lookbook page, a supplier shot, a photo from a previous season, and produces new photography of the same outfit on one of our catalogue models. Same clothes, new model, new pose, new scene.
The person in your upload is analysis input only. Their face, body and identity are never used, and the output model always comes from the catalogue. If you want the person in your photo to stay the model, that is Pose Batch, not this tool.
What to prepare
- Formats: JPEG, PNG, WebP or AVIF, under 50MB per file.
- At least 1000 pixels on the long side and 600 on the short side, ideally 1280 or more on the short side. Under 1280 the upload is accepted with a warning that fine detail may soften.
- Up to 20 photos per shoot.
The analyser recognises a dressed person and reads the photo with an on model context: it detects every garment and accessory worn or carried, each as its own product, and it never rejects a photo because a person is in it. What it cannot see, a hidden back, a cuff behind a bag, the inside of an open coat, it names as a risk rather than inventing it. So the best source photo shows the whole outfit clearly: a front on, full length shot, even light, nothing covering the garments. A cropped or side on photo still works, but the description will say what it could not see, and the generated garment follows the description.
One photo of the whole outfit is enough. Add a photo per garment only where the outfit photo hides something.
The stages
The workspace is the same five stage shoot as a flat lay: Products, Model, Poses, Scene, Shooting. Only the first stage reads differently.
Stage 01 · Products
Build the look, with the lede "Add photos of your products: laid flat, worn by someone or on a mannequin. We read each one and pull the garments out." There is nothing to choose: the analyser sees that the clothes are worn. The ways in are Select photos, Compose a canvas and From your library, and For the best results under the drop zone shows what a good worn photo looks like.
Analysis needs at least 1 credit on the account and consumes none. Products appear as cards in Detected products with a category pill; the garments from one photo arrive selected as one layered look, accessories and headwear stay unselected until you tick them, and a photo holding two of a one at a time category (two dresses, two pairs of shoes) selects neither.
Rules while you select:
- Garments and accessories layer freely.
- Footwear, headwear and full body items are one at a time. A second pair of shoes swaps silently; a second hat or dress asks Replace the selected item? first.
- Two outerwear pieces or two bottoms warn, a third is refused. A third swimwear piece is refused. Four tops or four underwear pieces warn.
- A bare lower body blocks the stage. Outerwear with nothing underneath warns.
Because these products were read off a body, check the Details of each one through the card's pencil, Edit Analysis Details. The analyser writes what it saw and flags what it could not see. If you know the back has a pleat the photo hid, add it: the label and details go straight into the prompt, and a product linked to your library updates there too.
Footwear must be resolved before you continue. If the photo showed shoes, they are a product like any other. If not, the band What about footwear? offers Barefoot or Upload shoes.
Stage 02 · Model
Cast your model: filter by Female, Male or All, pick a model, then a size under Body size. Each size is a real generated body for that model. The model you pick is the person in every photo. A look with an uncovered upper body blocks a female model here, with the message to add a top or choose a male model.
Stage 03 · Poses
Choose your shots: up to 6 poses, one photo each, numbered in pick order, grouped by full body, upper body and lower body framing. The poses shown follow the chosen model's gender.
Stage 04 · Scene
Optional. Photo size chips: 3:4, 4:3, 9:16, 16:9, 1:1, 4:5, 5:4, or Auto, which follows the backdrop and poses. Then the setting: a library location, or the Studio card in any paper colour (the palette icon opens ready papers and a picker; Use colour applies, Default restores the soft mint paper). Every size costs the same.
Stage 05 · Shooting
Generate N photos opens the Ready to generate? recap with the total in credits. Photos fill in as they finish; click any to view full size; Generate again reshoots the whole look.
Configurations at a glance
- Product text: Label (up to 60 characters) and Details (up to 240) per product, editable at any time, used in every later photo.
- Eyewear: On eyes or On head while selected.
- Footwear: a footwear product or the explicit Barefoot choice.
- Model and size, up to 6 poses, one scene, one photo size.
Credits
Every photo costs 1 credit whatever the size or scene. Credits leave your balance when you press Generate in the recap. A photo that fails refunds its credit automatically, and its tile offers Retry, which is a fresh photo and a fresh credit. Analysis is free but the account needs at least 1 credit to run it.
Best practices
- Prefer a full length, front on source photo with the garments unobstructed. Whatever the photo hides is flagged, not guessed.
- Read every product's details before casting the model. Add what you know the photo could not show.
- Match the size to the garment. Sizes here are real bodies, and a fitted garment reads differently on each.
- Save recurring pieces to your library. A reused description is the same every time, which a fresh analysis cannot promise.
- Choose the photo size in the Scene stage rather than hoping to crop wider later: wider download presets are refused because the figure is framed head to toe.
Common refusals and what to do
- "Photo not usable": the analyser found no usable garment. Remove and replace the photo.
- "Analysis failed": Retry, up to 3 attempts per photo, then upload it again as a new photo.
- A blocked selection click: "A look can carry 2 outerwear pieces at most. Please unselect one first." Deselect one, then select the other.
- "This shoot has analysed as many photos as it can": open a new shoot for the rest.
- Daily or monthly analysis allowance used up: the message names the limit and the reset date for the monthly one. Allowances per plan are on the pricing page.
- "No credits left": pick a plan on the billing page.
Downloads and the AI label
Each finished photo has a download icon on hover, and Download all covers the shoot. Choose JPG, PNG or WebP and any of Original, Storefront, Portrait post, Square, Story, Tall pin and Wide; each card previews the real crop, and several sizes arrive as a zip with a folder per size.
Every export carries provenance metadata that marks it as AI generated, which cannot be switched off. The visible EU "AI GENERATED" label is on by default and can be turned off per download with the switch Show the "AI GENERATED" label on the photo.