What it makes
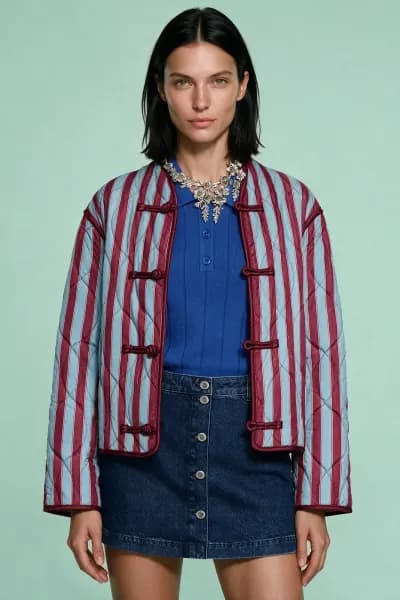
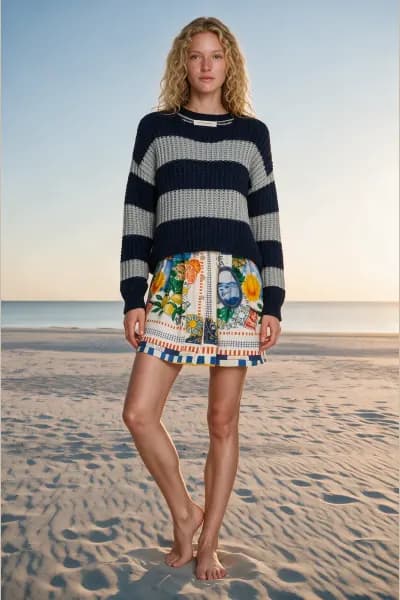
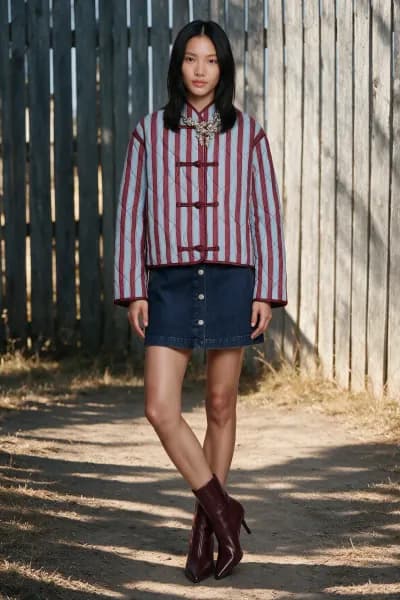
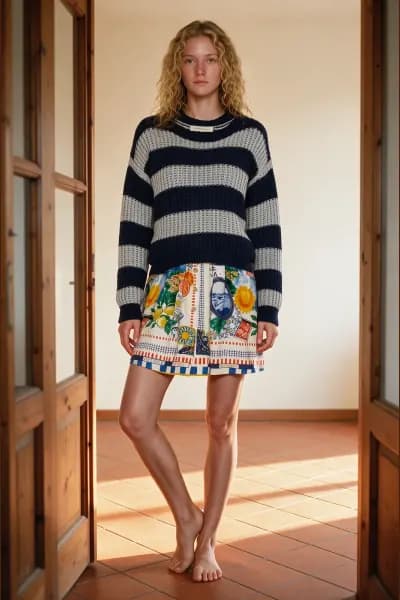
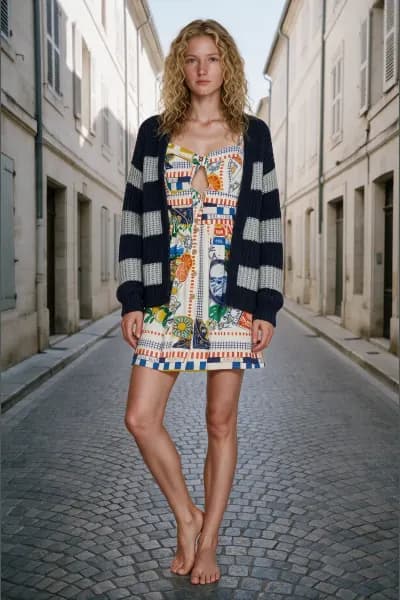
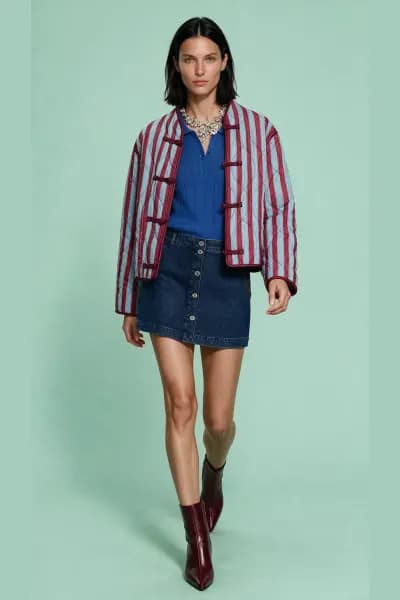
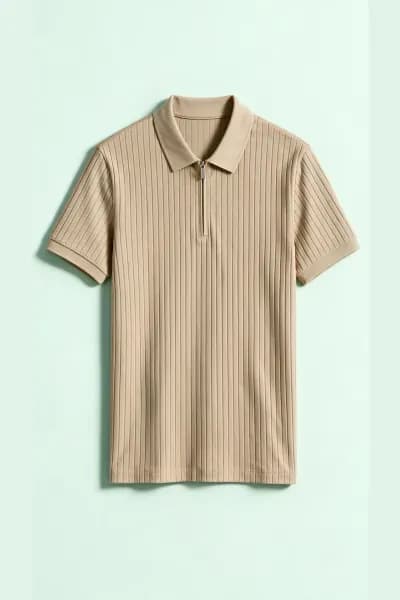
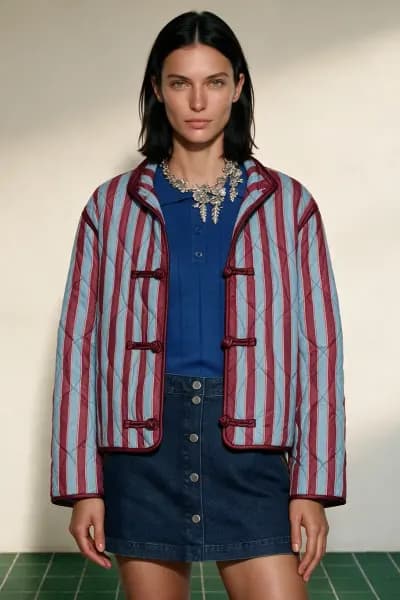
Mannequin to on model is the On model tool working from photos of garments on a mannequin, bust or dress form. It produces photography of those garments worn by one of our catalogue models. It is built for boutiques and ateliers that shoot on forms because it is quick, and want the same garments on a person without a second shoot.
The mannequin is analysis input only. The output model always comes from the catalogue, and the form, its stand, and any pins or clamps are never treated as products.
What to prepare
- Formats: JPEG, PNG, WebP or AVIF, under 50MB per file.
- At least 1000 pixels on the long side and 600 on the short side; 1280 or more on the short side is recommended. Below 1280 the photo is accepted with a warning that fine detail may soften.
- Up to 20 photos per shoot.
The analyser recognises a dress form and reads the photo with a mannequin context. A dressed form is the expected subject, so it is never a reason to reject the photo. The mannequin and its stand are not listed, and the form's own colour or material is kept out of the garment descriptions. Fabric that is pinned or clamped at the back is read as tailoring, so a garment pinned to fit the form is described as the garment, not as the pinning.
A good source photo shows the garment on the form from the front, evenly lit, with the full garment inside the frame. If a piece is layered under another on the same form, give it its own photo too, since anything hidden is recorded as a risk rather than invented.
A separate photo per garment gives each one its own full resolution crop, which is what the generation references are built from.
The stages
The workspace is the shared five stage shoot: Products, Model, Poses, Scene and Shooting.
Stage 01 · Products
Build the look, introduced with "Add photos of your products: laid flat, worn by someone or on a mannequin. We read each one and pull the garments out." There is nothing to choose: the analyser sees the form. The ways in are Select photos, Compose a canvas and From your library (up to 10 saved products per batch, no analysis), and For the best results under the drop zone shows what a good mannequin photo looks like.
Analysis needs at least 1 credit on the account and consumes none. Each photo shows in the Source photos strip while it is read, and its garments arrive in Detected products selected as one layered look. Accessories and headwear are never selected for you. If a photo holds two items of a one at a time category, such as two dresses on two forms, neither is selected.
The selection rules are the same whatever your photos show:
- Garments and accessories layer freely.
- Footwear, headwear and full body pieces are one at a time. Footwear swaps silently; headwear and full body pieces ask Replace the selected item? with Swap or Keep current.
- Two outerwear pieces or two bottoms warn and a third is refused; a third swimwear piece is refused; four tops or four underwear pieces warn.
- A bare lower body blocks the stage with "Add a bottom or a full-body piece so the lower body is dressed." Outerwear alone on the upper body warns but does not block.
Mannequin photos rarely include shoes, so expect the footwear question. When you press Continue without footwear selected, a band asks What about footwear?: choose Barefoot, which adds a Barefoot card to the grid, or Upload shoes, which analyses one photo and selects only the footwear in it.
Open any product with the pencil, Edit Analysis Details, to review its Label and Details. These two fields are written into the prompt. A form sometimes hides a closure or a hem; if you know what is there, write it in. Linked library products take the edit as well.
Stage 02 · Model
Cast your model. Filter All, Female or Male, choose a model, then a size under Body size. Every size is a real generated body, so this is where you see how a garment cut for the form will sit on a figure. An uncovered upper body blocks a female model here.
Stage 03 · Poses
Choose your shots: up to 6 poses, one photo each, numbered in the order picked, grouped by full body, upper body and lower body framing, following the model's gender.
Stage 04 · Scene
Optional. The Photo size row (3:4, 4:3, 9:16, 16:9, 1:1, 4:5, 5:4 or Auto) and the setting: a library location or the Studio card, whose palette icon opens ready papers and a colour picker. Use colour applies a paper; Default returns to the soft mint studio. Every size costs the same.
Stage 05 · Shooting
Generate N photos shows the price in credits and opens the Ready to generate? recap. Photos fill in as they finish; click one to open it full size; Generate again reshoots the whole look.
Configurations at a glance
- Per product: Label, Details, and for eyewear On eyes or On head.
- Footwear: a footwear product or Barefoot.
- One model, one size, up to 6 poses, one scene, one photo size per shoot.
Credits
Every photo costs 1 credit at any size and in any scene. Credits are taken when you confirm in the recap. A failed photo refunds its credit without you asking, and its tile shows Retry for a new attempt at a new credit. Analysis is free but the account must hold at least 1 credit.
Best practices
- Shoot the form from the front, at full length, with nothing in front of the garment.
- Photograph layered outfits piece by piece as well as together, so each product has its own clean crop.
- Check the details of anything the form pinned or tucked, and add what the photo hid.
- Expect the footwear question and decide it deliberately: Barefoot for lingerie and swim, an uploaded shoe photo for a styled look.
- Save the pieces you restock to your library, so the next shoot reuses the same verified description.
Common refusals and what to do
- "Photo not usable": the analyser could not find a garment. A bare form, a stand alone or a photo that is not a product photo lands here. Replace it.
- "Analysis failed": Retry, up to 3 attempts per photo, then upload the photo again.
- A refused click on a third outerwear piece or bottom: unselect one first, the selection is never changed for you.
- "This shoot has analysed as many photos as it can": continue in a new shoot.
- A daily or monthly analysis allowance used up: the message names the number and the reset date. See the pricing page for each plan's allowance.
- "No credits left": analysis and generation both need a credit. Pick a plan on the billing page.
Downloads and the AI label
Hover a photo for its download icon, or press Download all. Formats are JPG, PNG and WebP; sizes are Original, Storefront, Portrait post, Square, Story, Tall pin and Wide, each previewed as the exact crop. Sizes wider than the photo are not offered, because the model is framed head to toe: shoot at that size instead. Several sizes arrive as a zip with a folder per size.
Every export carries provenance metadata marking it as AI generated, which cannot be turned off. The visible EU "AI GENERATED" label is on by default and can be turned off per download with Show the "AI GENERATED" label on the photo.